Showing posts with label crafting. Show all posts

Monday, April 30, 2012

Flutterby Wreath


When I saw this wreath from A Pumpkin and A Princess, I pinned it right away because I knew I wanted to make one like it!


I went to round up some materials. First stop, was the Dollar Store. They had NADA. I don’t know if some are better than others, but ours doesn’t have anything for wreaths or floral or craft stuff. Ticks me off. Luckily, right next door is Hobby Lobby and I had a coupon. (I love that I can just show them the email on my phone for the coupon! Love it!)

(If I’d been thinking while I was at the Dollar Store, I would’ve picked up a pool noodle to use as a wreath form ala Thrifty Décor Chick.)

Anywho, I ended up getting what I needed and was ready to get started.

DSC_0005

I started by cutting the moss into strips, then began the oh-so-fun process of hot gluing it around the wreath.  Moss is messy. It gets EVERYWHERE.  And, you will burn your fingers. Unless, you are a smarty like me and use a tool other than your fingers to press the moss on the wreath. My tool of choice? A pencil.  It was there AND it worked like a charm.


DSC_0006


Once I got all of the moss glued on, I stuck in the butterflies. I didn’t glue them, I just poked them into the wreath form.

(I almost got fuschia butterflies instead of the pale yellow. They would've looked great. Maybe I still will since they are just poked into the form.)


wreath

I'd never worked with sheet moss before (the paper backing surprised me) and was glad that I got the big roll and not the small package. I ended up using almost the whole thing. I know I already said it's messy and you'll burn your fingers, BUT it looks so cool once it's done! It took me about an hour and the mess and burns were all worth it.

I hung it using a little white ribbon over the buffet in our front room to add a nice little spring touch.

DSC_0182

Also, on the buffet is a poem about the seasons I wrote back in junior high. I found it while cleaning out and organizing the basement. I typed it up and stuck it in a frame. I’m thinking I can change out the background paper for the season and keep it around all year long.

DSC_0184

Along with the poem is a vase filled with lentils and moss with some fake flowers shoved in it, an old Norwegian bible that came from Sparky’s grandparents house, my fat little bird and cake stand with a little greenery under a cloche. 

(I am purposefully not mentioning the silver touch desk lamp. It’s temporary until I get a bigger one. I have one ready to be spray painted that I got at a thrift store, but I can’t decide on a color. Or if I want to use that one there. Decisions, decisions.)

DSC_0187


DSC_0182

I don't anticipate changing this up much over the summer. Maybe a couple of tweaks here and there.   We did pick up a mirror from a friend of my SIL's that will look great over the buffet. I just need to give a coat of spray paint. At some point, I also need to do something about the hardware on the buffet. One is broken and one doesn't match the rest. It just hasn't bothered me enough to do anything about it. Yet. Oh, and the lamp. Hopefully a different lamp. Hmmm, so maybe it will change a bit over the summer. We'll see how ambitious I get.

Tuesday, September 27, 2011

Porch Update

I finally have a couple of updates to the porch project I started a couple of weeks ago.  And my craft room floor looked like this:


Fantastic.

I knew I wanted a wreath for the front door, so I’ve been pinning a lot of wreaths lately for inspiration.

Like, this one:


 Source: Madigan Made via Jill on Pinterest

 And this one:


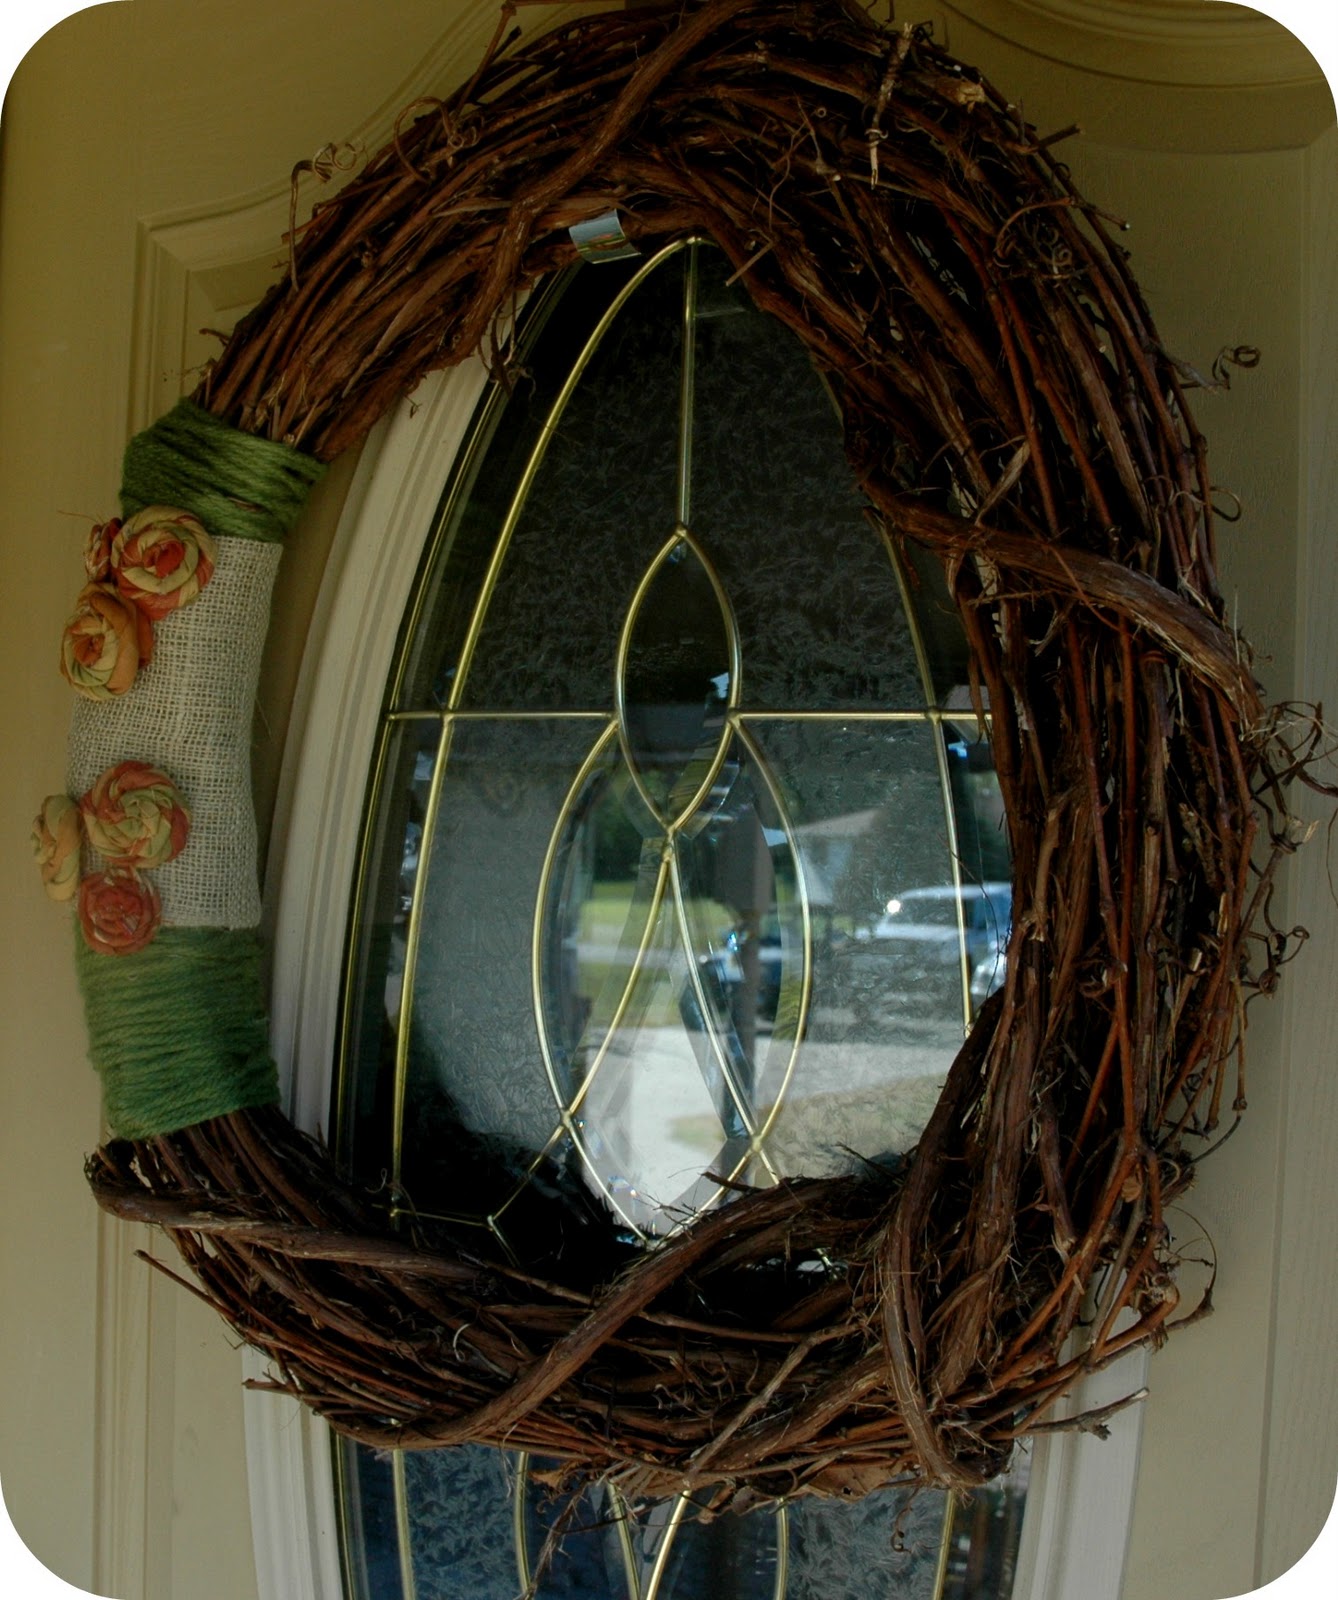
 But, I finally decided to tackle this one:


And it’s probably one of the easiest things I’ve done.

I got the grapevine wreath on sale at Hobby Lobby for $3.50. Then I picked up some nice soft yarn while I was there and used my 40% off coupon.  I also picked up some burlap at JoAnn using a 40% off coupon as well. That’s right, I was a bargain shopper! (So, I’d never bought burlap before. Why? I don’t know. Anywho, the girl that cut it for me was not impressed to be cutting burlap. I guess there is a right way and a wrong way to cut burlap, and the last person to cut it, did it the wrong way. Who knew?)

First, I wrapped the yarn around one side.  Then I cut my burlap (not the right way), and used hot glue to attached it on the back.

My next big decision was what kind of flowers to put on it. I didn’t have any felt, but I did have some plaid fabric from some pillows I’d made a few years ago.  I did a search for fabric flower tutorials, but didn’t see any that jumped out at me. . (There are a bajillion.) I didn’t really want to sew and I didn’t have any buttons. Then, I remembered this fabric flower tutorial from Emily at Jones Design Company. Perfecto!  These were super easy and didn’t take much time at all.  The only issue that I really had was I cut some of the strips too wide and they weren’t very long, but in the end, they worked out pretty well.


I spent maybe an hour total. (And some of that was wasting time cutting circles out of fabric trying to make flowers before I finally broke down and looked online.)

The other thing I knew I wanted to do was use a pumpkin as a planter. I fell in love with them after seeing this:


So, I broke down and bought a couple of pumpkins. (There’s a patch by my parent’s house that’s free pumpkin patch and I was trying to hold out until I made it up there, but I just couldn’t do it.)


I knew that I didn’t want to see the actual pot the mums were in, so I cut the whole in the top of the pumpkin a little bit wider than the circumference of the container.  To keep the container from falling to the bottom of the pumpkin, I stuff the pumpkin with plastic shopping bags.  This was very easy as well and makes me love pumpkins even more.

I’ve got a few things left before the porch is really ready for fall. More pumpkins, maybe a hay bale, some cornstalks…we’ll see.


Linking up with these fab folks!
Photobucket

Monday, August 1, 2011

Painted brick and other goodies

I love our family room. I love the space, the furniture, the light, the fireplace. (You can see what it looked like when we bought the house here.) But I don’t love the nook thing by the fireplace. I’m sure it originally held firewood. That it did serve a purpose. But the fireplace is now electric (done by the previous owners I think). No need for firewood. And the only purpose it served now was to mock me. I’d bought a big vase to try to brighten it up, but it didn’t really work.


I couldn’t take it anymore. The dark black hole next to the fireplace. Mocking me. So, this weekend while Sparky was off playing golf with my uncles, I decided to paint it. Yep, I finally painted brick. And it kinda sucked. Painting brick is not that fun. But, it looks soooooo much better. Like, I can’t even believe how much better.


We had left over masonry primer from the playroom project and lots of leftover paint from when we painted the family room. The color is Gobi Desert from Behr. It’s a nice tan that goes with pretty much anything. And the majority of our house is painted this color.


Even just the coat of primer made a huge difference!


But, painted was even better! Ahhhh, no more mocking. It's like it almost disappears into the wall.


And of course, once that side looked so good, I had to do something to the shelves on the other side of the fireplace to even it out.  Poor, pathetic shelves.


First, I cleared everything off except for the TV components. I straightened up the cords as best I could and tucked things behind to hide them a bit, but still need to do something about them wrapping around the front of the fireplace.

Then, I went shopping. Around the house. With a glass of wine in hand.  At 10:30 on Saturday night. An exciting life I lead, I know. Don’t be jealous.


Anywho…on the top shelf, I leaned a picture of a Celtic circle. (I can’t for the life of me find what it means. Love or life I think?) I made it from a stencil 8 years ago maybe? I’ve had it forever anyway and still love it. I also have my Grandma’s old Brownie camera. I love it. Then, I found some hardcover books and “covered” them with scrapbook paper so they were all the same color. The pitcher I had just picked up at TJMaxx Thursday for $5. I had bought to go upstairs in the dining room, but it fits here too. And brings a nice touch of color. I've had the basket forever. I have kind of a basket obsession. Once they come into my house, they never leave. 


For the second shelf, I wanted to draw attention away from the cable receiver, but I couldn’t completely cover it up. First, I hung a collage frame on the back wall. I made this for Sparky for Father’s Day a few years ago. (I taped a white sheet to the wall and setup the tripod and RC and I did silly stuff for the camera. Eventually, I’d like to change out the pictures of RC and me for pictures of RC and Baby Peach.) I got the camera from my MIL the last time we were at her house. My FIL taught high school photography and she has some of his old equipment. I have no idea how it works. I'm actually impressed that I figured out how to open it and get the lense out. But I love it! Again, more books wrapped in scrapbook paper. (Webster's Dictionary to be exact.)


The bottom shelf has a pitcher full of branches I cut off one of our bushes. The Shamrock picture is one I made for St. Patrick’s Day this year. I love it so much; I wanted to put it back out. The family plate was a gift from my SIL. The picture of RC and Baby Peach is one I’d taken to make a silhouette. I love it. The white piece is an old light fixture globe I spray painted white.


I’m not sure if the shelves are giving off quite the vibe I’m going for in the room, but it’s definitely better than what has going on in there before. And it was all free!


This room still has a bit work left to it, but it’s getting closer!


ToDo:
Tile fireplace hearth
Shorten curtains
Possibly embellish shortened curtains
“Family” wall above trunk
More pillows
Possibly make a pouf or two for the floor


Linking up with:


UndertheTableandDreaming


Making


The DIY Show Off


Suzy's Artsy Craftsy Sitcom

Wednesday, June 22, 2011

Kids Bath Update

What the what? Two posts in a single week? Inconceivable! Don't expect this too happen to often. I don't want to get your hopes up.

Anywho, my sister wanted the next room to be the mudroom, but there are a couple of things I'd like to do in there before I do a post on it. Sorry Steph!

I did do a couple of little projects for the kids bathroom though. I showed a couple of inspirations for artwork in the kids bathroom back in this post.

Then, I spotted this from Jen over at American Crafts. Instant LOVE! So cute and looked pretty easy.


I picked up a couple of frames on clearance at Michael's and stocked up on buttons. I didn't have any buttons in my house. Unless you count the spare ones that come with every shirt and jacket you buy. But they were't pretty and cute. And I didn't have nearly enough.

This is what I started with:


I followed the tutorial pretty much to the letter (punny, I know). I traced the letters out on my card stock and started filling them in with buttons and brads. It's kinda like a puzzle. Trying to get as many buttons as you can within the lines. It took me a bit longer than I thought it would. Also, it was good to leave it for a day or two, then come back to it.  The empty spaces to seem to jump out better after you stepped away.


I knew I wanted these to be behind glass, since they were going in a bathroom, so I didn't do as much layering as Jen did. Baby Peach got more stars and pink than RC did to make hers a little more girly, but for the most part they look pretty much the same.


 They look exactly like I was hoping they would hanging up!


I also hung a couple of different pieces on the opposite wall. I'd gotten a cute bug calendar from my mom for Christmas.  I just cropped a couple of the bug pictures to fit into more Michael's clearance frames. I love the color and fun they add!


I love that it's kid friendly, but not too cutesy. 

The only thing left in this bathroom is to get a hand towel bar hung up! Yay!