
Well, after living here for three months. We changed our minds. The kids’ rooms are pretty small and our family room was being overrun with matchbox cars, trains (and their tracks) and blocks. We couldn’t take it anymore.
So, my husband decided to give up his man cave and give the kids a playroom.
I’d been using the side that was to be the man cave as a crafting area and the other room was being used for storage. Beware; the pictures to follow are not pretty. I actually can’t believe I’m showing them at all. But, in order to see how much the room changed in a weekend, it has to be done.
This is going to eventually be my craft room. 


First things first, empty the room. You can see the colors we were thinking of going with. This room is partially finished and that was fine with us. We didn’t plan on truly “finishing” the room. We simply wanted to paint the walls and put down some carpet. Make it fun a space for the kids to play and make a mess could be easily hidden by shutting the basement door.


One wall did have sheetrock, but it wasn’t taped or anything. Sparky filled in the screws with spackle, but left the seams alone. The other two walls are concrete. And the plumbing pipe runs across it. The last wall has the furnace and sump-pump. Once the spackle was dry, it was time to prime. 

We used Killz Latex Primer on the sheetrock and Olympic Masonry Primer on the concrete walls. RC was very excited about the prospect of getting a playroom and wanted to help paint.


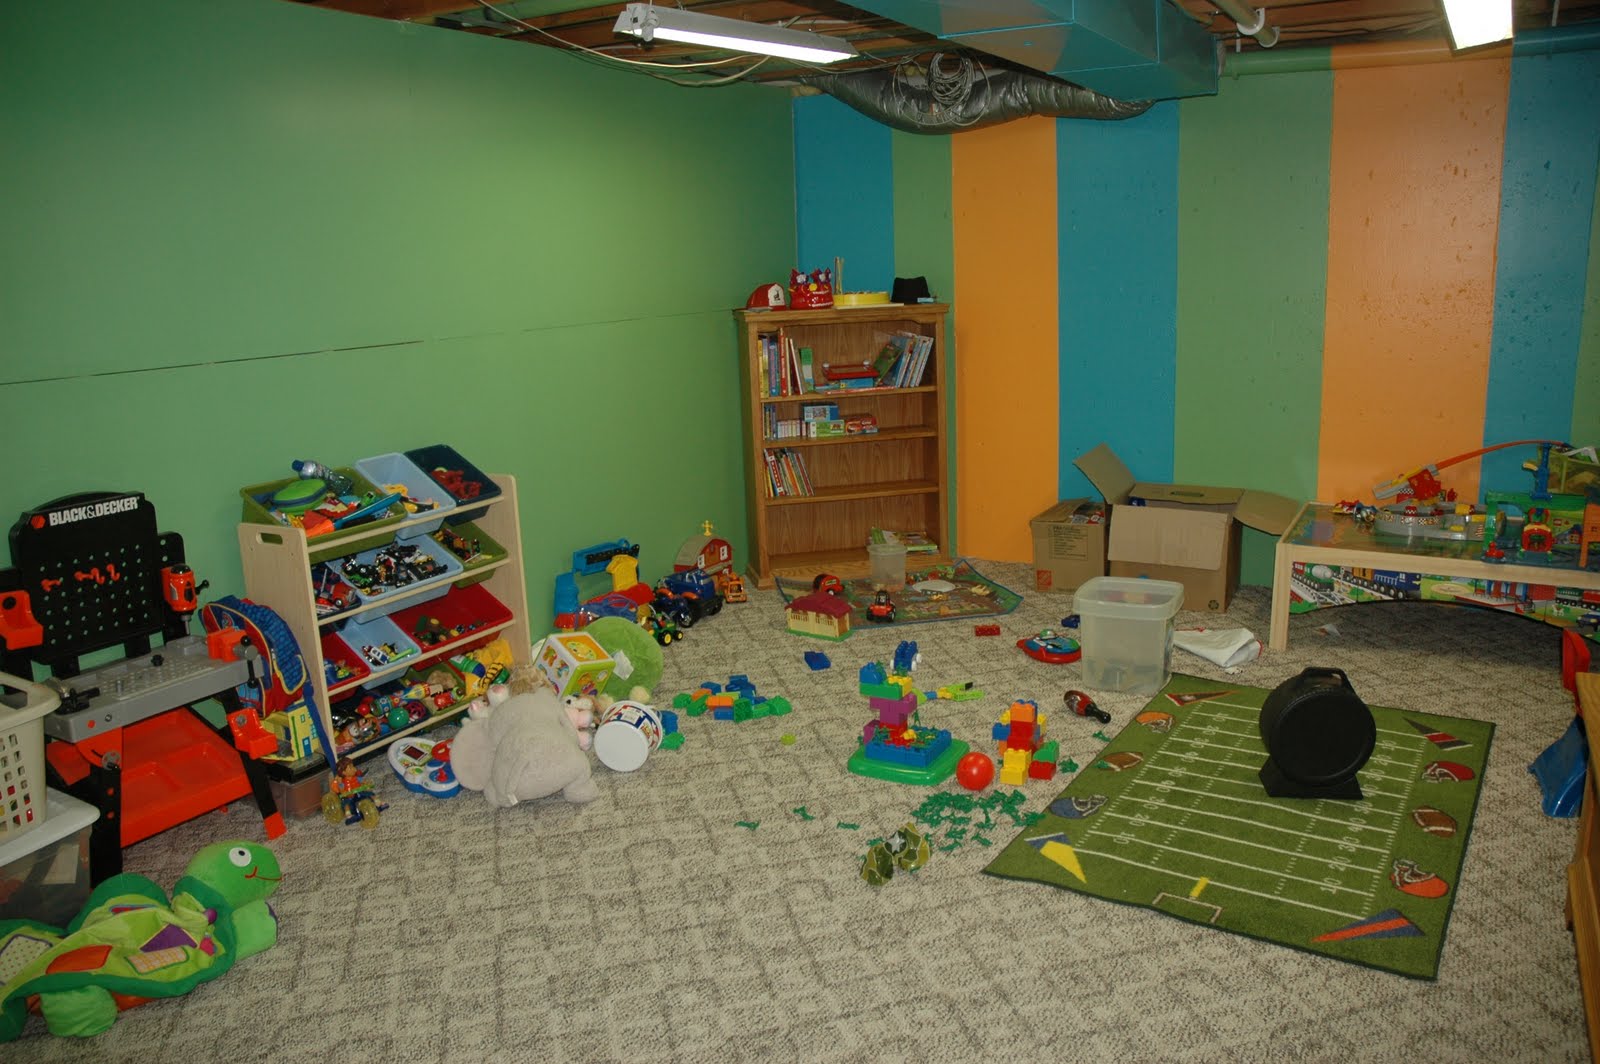
Next up, painting! We knew wanted something playful and fun and bright since it’s a basement room with only two small windows that face north. The colors we chose were Exotic Sea, Spring Leaves and Pumpkin Burst from Valspar in a Satin finish.

We decided to paint the majority in Spring Leaves and then use Exotic Sea and Pumpkin Burst for accents. For the long wall that had the PVC pipe, we decided to paint the pipe the same color as the wall. The far wall became the accent with different sized stripes. We actually used the seams in the cement as our stripes and painted the pipe accordingly. We also decide to paint the duct work as well. Actually, Sparky decided to paint it and it just adds that little extra something. We aren’t planning on closing in the ceiling and this made it seem more planned and not just plain old duct work. 


Three gallons of primer and three gallons of paint later, we were ready for the carpet. Basements in North Dakota are damp. And sometimes they flood. We knew we didn’t want to glue any carpet or pad down in the event we did ever get water. Glue pad + wet basement = gross mess.
We also didn’t want to spend a bunch of cash on it. Solution? Carpet with a built in pad that we just rolled out on the cement. Sparky cut around the furnace, steps, doorway and trimmed up along two of the walls.


Wow! It looks like an actual room now! We started priming the walls Saturday afternoon and the kids were playing in it by 5 on Sunday. Not too shabby!We also didn’t want to spend a bunch of cash on it. Solution? Carpet with a built in pad that we just rolled out on the cement. Sparky cut around the furnace, steps, doorway and trimmed up along two of the walls.


This is how it looked after the kids went to bed. I think they like it.

We have a list of things that we want to do to the room, but for now it’s exactly what we need!
Todo list:
Put in door to craft roomPut up some trim and possibly a chair rail
Paint flowers or stencil big circles on the wall
Maybe make the pipe look like snake
Shrink art (saw it on Home by Novogratz and it was awesome!)
Art center – big rolls of craft paper on attached to the wall and art supply organization
Maybe some corkboard
More storage – shelf or cubbies
Nothing major, just finishing touches that are going to make the space more fun and functional. I've been pinning inspiration like crazy on Pinterest.
Linking up with:
Linking up with:


If you figure out how to do the shrink art (seriously, just finished watching that episode, yes, from the lake) - you need to let me know. Because I have tons. Tons. Tons.
ReplyDelete